Overview
Now that you've created your account on EasyPost, you need to enter your billing information to start buying labels on Lister. We've summarized the steps for you below. Click here if you'd like to read EasyPost's guide on setting up billing.
Table of Contents
Step 1: Log into your account and go to the billing section
Step 2: Add your preferred payment method
Step 3: Recommendations for Recharge Threshold & Amount
Step 1: Log into your account and go to the billing section
-
Go to www.easypost.com and login to your account, then click "Account Settings" in the left navigation menu
-
Click "Billing" in the top navigation menu

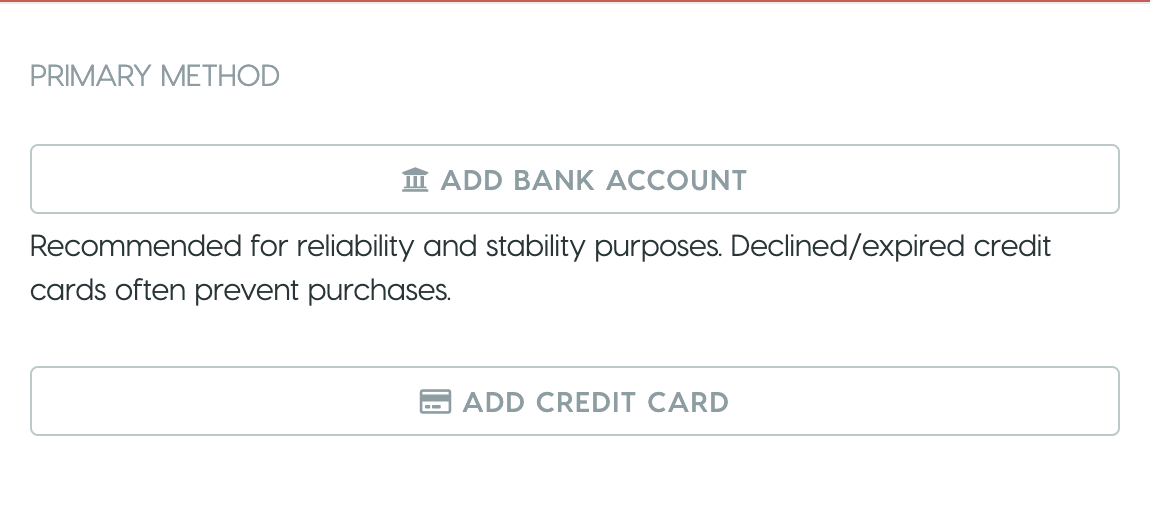
Step 2: Add your preferred payment method
-
Link a bank account or credit card to your account on the billing page
Need help linking a bank account?
Follow these instructions as a more in-depth guide.
Step 3: Recommendations for Recharge Threshold & Amount
We recommend setting your payment method to a bank account, because EasyPost applies a convenience fee to all transfers made into the EasyPost Wallet using a credit or debit card.
When setting up your billing in EasyPost, it's important to set an appropriate recharge threshold and amount.
-
Auto-Reload Threshold
-
This is the dollar amount that will trigger a transfer from your bank account or credit card to EasyPost
-
-
Reload Amount
-
This is the amount that will be transferred from your bank account or credit card when the threshold is met
-
-
It can take 5 days for funds to transfer from a bank account to EasyPost. As such, we recommend setting the recharge threshold to account for at least 5 days worth of USPS shipping costs (FedEx and UPS are billed directly via the carrier, not EasyPost).
Please DO NOT set the recharge threshold to $0, as it may halt the shipping operation. We recommend a minimum of $100, but that amount may vary depending on the size of your operation.