How to Ship Orders Internationally
How to create an international shipment with customs
Overview
Table of Contents
Step 1: Add Customs Information
Step 2: Ensure Customs Information is Correct
Step 1: Add Customs Information
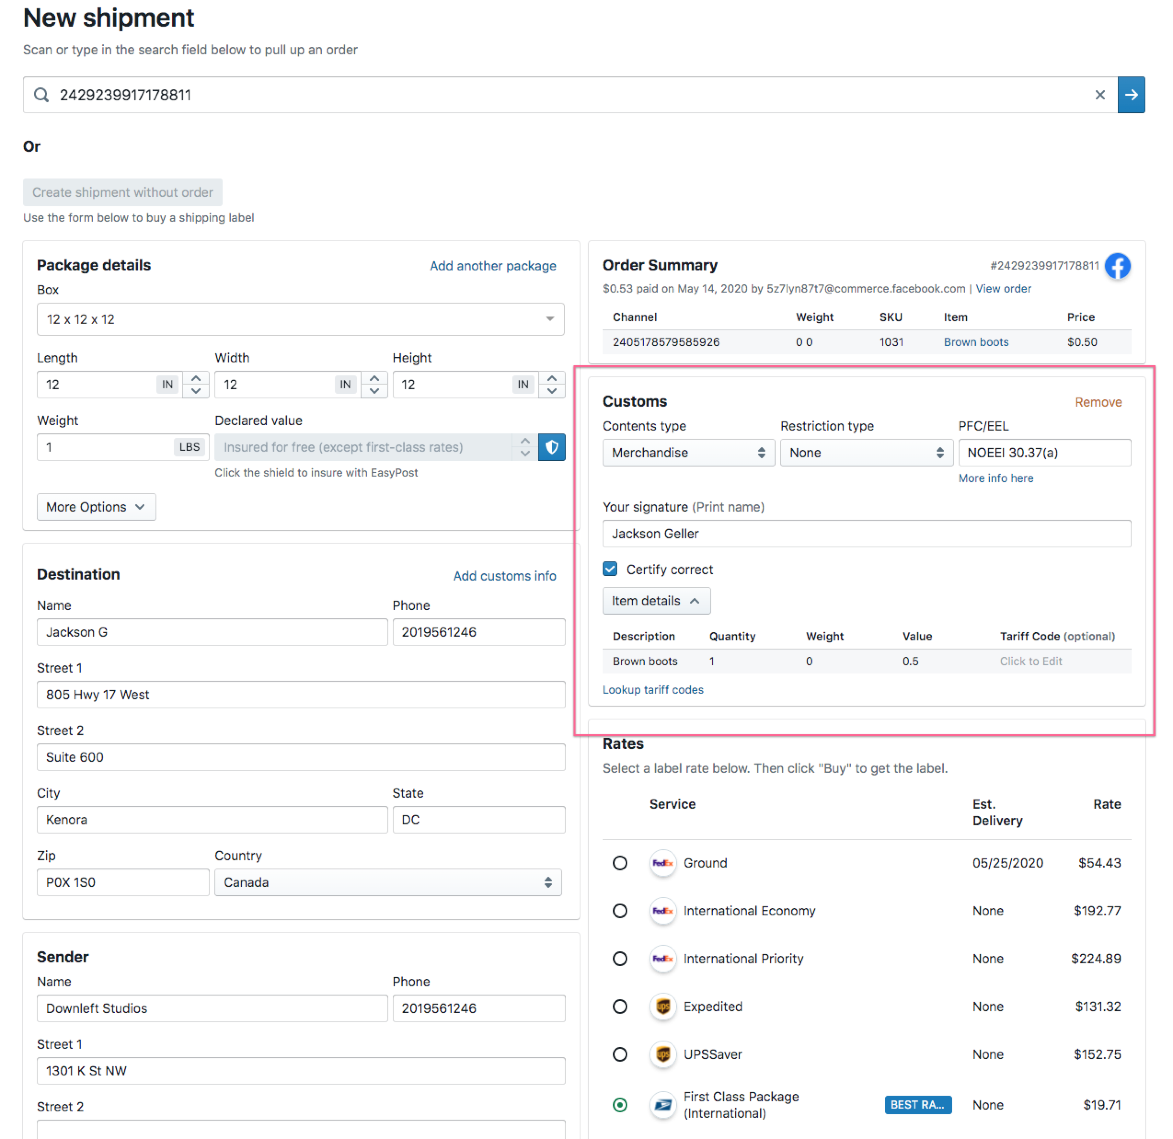
For all international shipments, you'll need to add customs first. This can be done by pressing the "Add customs info" button on the destination box.

Step 2: Ensure Customs Information is Correct
We'll automatically fill out the customs info for you, including all of the item information. Give this a look to verify its correct. Usually, this information doesn't need to be changed. Here's what all of these options mean:
-
Contents type: what's in the package, you usually want to keep this as "merchandise"
-
Restriction type: Any restrictions worth noting? You can see a list here.
-
PFC/EEL: More info here
-
You signature: We'll automatically fill this out based on the current user and send it directly to the carrier. This certifies the information is correct.
-
Tariff codes: These are optional, but helps get your package through customs. These can be looked up here

Step 3: Buy the Label
Once the customs info is added, time to purchase the label. We'll automatically generate the customs invoice, and in some cases forward all customs information to the carrier (USPS and UPS only).
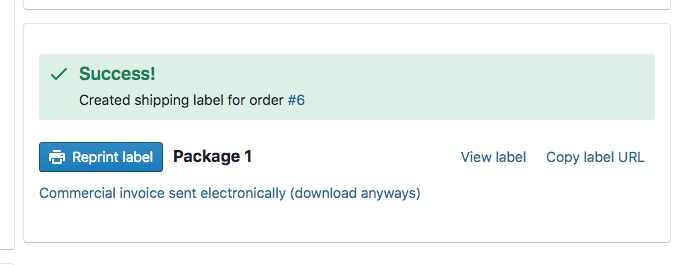
We'll show if you need to include the commercial invoice with the package, as shown below.

Have questions? Reach out to us at support@uprightlabs.com or via chat anytime between 9am-6pm ET, Monday to Friday